If you have never worked with leather, you should start with something simple, for example, with this simple but no less beautiful bag.

This bag is sewn without lining. The upper cut and the handles are reinforced with a line, but it’s still worthwhile to take not the thinnest, thick enough skin to keep the bag in shape.

If you have never worked with leather, we recommend that you read this detailed guide.
The following points are important for this project:
- Pay special attention to the choice of skin - take a pattern to the store and consult with the seller.
- Please note that both parts of the bag must be cut in the same direction (the skin stretches more across than it does along).
- Use only special skin needles.
- Do not fasten, but tightly bind the ends of the threads.
- First, try sewing on a small patch, if the machine does not promote the skin well enough, use a special foot or put tissue paper under the skin (for more details, see the manual in the link above).
- Stock up on a backing mat and a roller knife or build a device for cutting leather from a blade and cork (see the manual in the link above).
Genuine leather: types and description
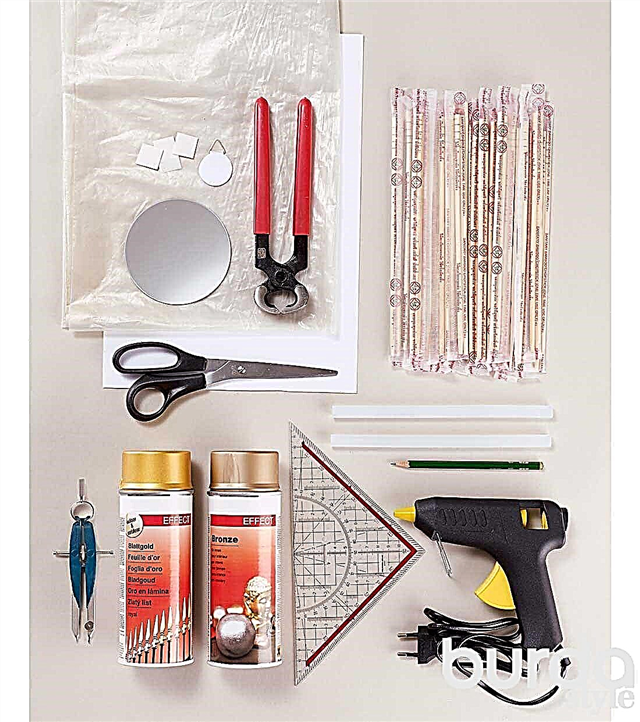
You will need:
- leather;
- mat mat and roller knife;
- sewing machine and needles for leather;
- strong, but not thick threads (for example, synthetic);
- crayon;
- large scissors;
- clamps, for example, office;
- paper, ruler and pencil for pattern.
We sew from genuine leather
Work sequence:

1. Print patterns for cutting the top of the bag and handles (you can download them here).
Build a pattern: draw a square 38x38 cm, add top patterns and handles of the bag. Cut 2 identical pieces of leather.
2. On each part, line along the perimeter of the pen holes and on top of the bag. The stitch length is 4.5–5 mm. Sew quite close to the edge, backing off approximately 5 mm.
3. Reduce the stitch length to 3.5–4 mm, fold the details inside out, fasten with clamps and sew along the perimeter from 3 sides, departing from the edge about 1.2 cm.
4. Using a ruler and a roller knife, a breadboard knife, a blade, cut off the excess edges on 3 sides of the bag, leaving about 0.5 cm. This will make the bag look neater.
Photo and source: deliacreates.com