This workshop is about how to sew a simple bibabo bear, but dolls representing other characters can be sewn using this pattern.

Bibabo is a glove doll, the simplest version of a puppet character that can be revived. With kids, adults can play with a doll by putting it on their hands, while older children can try to do it themselves. Bibabo dolls come with a voluminous head, but I chose the simplest option, having achieved the expressiveness of the muzzle and the doll itself using applique and embroidery. The doll itself is made of voluminous fleece, the applique is made of thin leather. For application, you can also take fleece or fabric, which does not crumble too much (working with the skin is still somewhat more difficult). This doll is hand-sewn, but you can also use a sewing machine.

DIY felt toys: 6 ideas with master classes
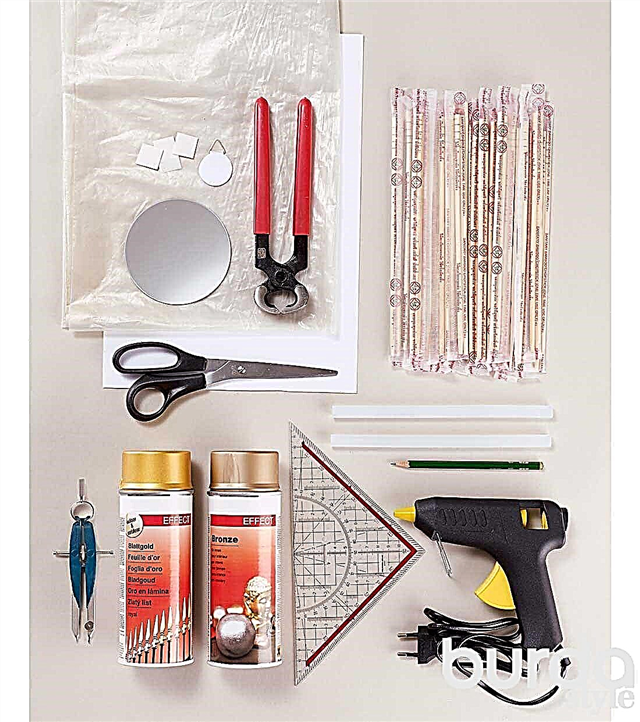
You will need:

- paper, pencil and scissors for patterns;
- fleece for the base of the doll;
- contrasting material for the application (if the fabric crumbles, you can strengthen it with a thin non-woven or doubler before cutting);
- scissors for fabric;
- needle for hand sewing and thread in the color of the main fabric and in the color of the material for applique;
- a floss for embroidering eyes, nose and mouth (black and white) and a suitable needle for embroidery.
How to sew toys according to children's drawings: 3 master classes
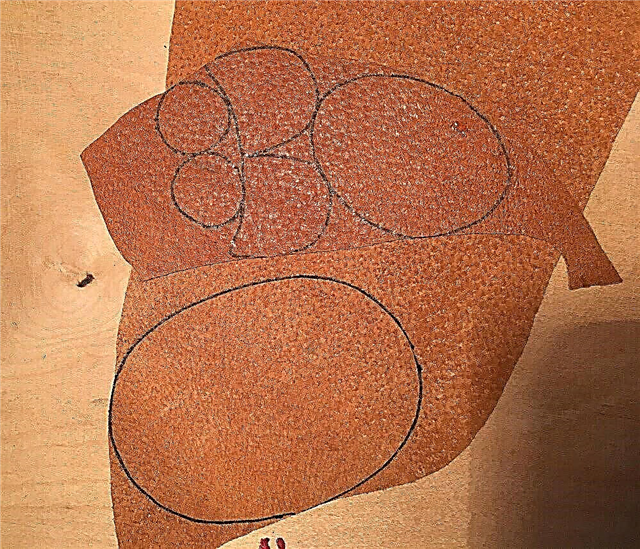
Step 1


We draw a sketch and build a pattern. First we draw the base - a symmetrical "glove". Then we duplicate it, add ears, details of the muzzle, paws. We cut out all the details of the pattern from paper.
Step 2

We cut out 2 identical “glove” details from fleece, 4 details of fleece ears and details for appliqué (ears (2 pcs.), Paws (2 pcs.), Nose, tummy) from contrast material. Details of the "glove" need allowances, details of the application - no.
Step 3

We sew applique details on the ears using threads matching the color of the appliqué material.
Step 4

Fold the details of the ears with the front sides inwards and sew them on a rounded line (do not stitch them from below).
Step 5

Embroider the nose and mouth on the details of the muzzle. I made a nose out of a piece of black satin fabric, putting a piece of fleece underneath for volume, you can just embroider a nose with a floss.
Step 6

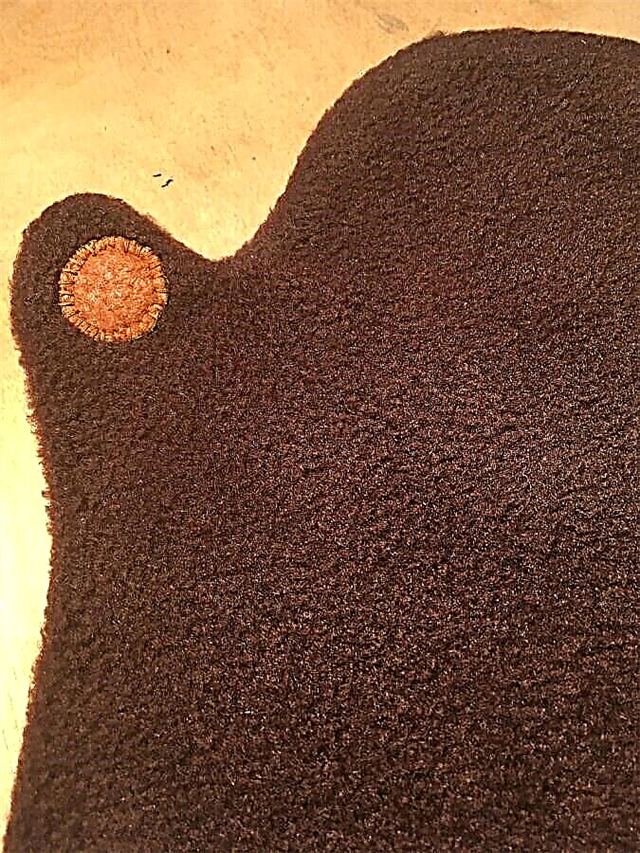
On the paws on the front side of the glove part we sew round applique parts.
Step 7
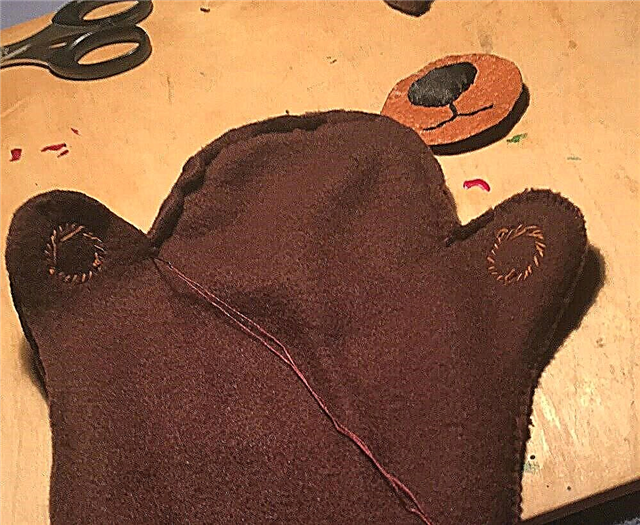
The details of the "glove" are folded with the sides inward and stitched around the perimeter. We turn out. You can walk lightly heated iron through a damp cloth, straightening the seams and fixing allowances.
Step 8

Sew the ears to the head of the toy. In the case of volume fleece, I did not even bend the edge inward, I sewed it manually with small stitches over the edge.
Step 9
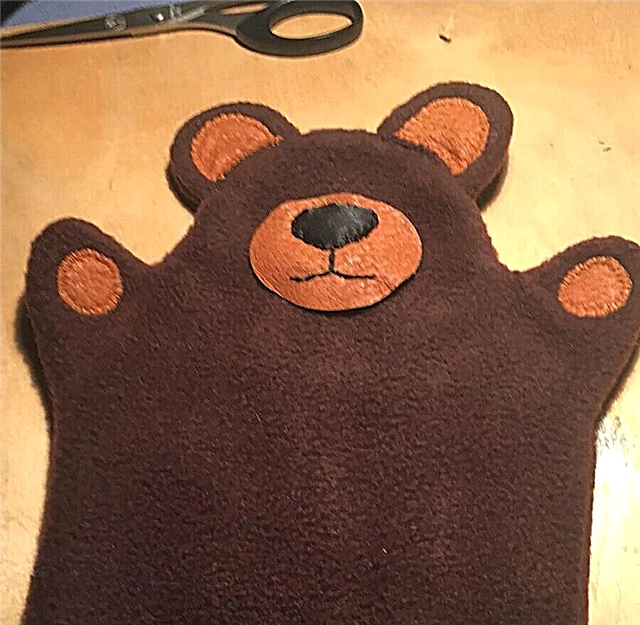

Now you need to sew the muzzle detail. Attach it to the toy, find the right place. A piece of fleece of the same shape as the part of the muzzle can be placed under the applique part for volume, but a little smaller in size. Having found the right place for the part of the face, you can pin it with pins and sew on.In our case, the detail of the application is made of leather, and extra punctures here will be noticeable. Therefore, I first attached the part of the applique with several stitches around the perimeter, and then sewed it.
Step 10

I sewed the contrasting detail of the tummy, attaching it with pieces of masking tape so that it would not budge. If the detail of the application is not made of leather, as in this case, but of fabric, it can be pinned or pinned.
Step 11

It remains to embroider the eyes and hem the bottom. Done!
The author of the master class and photo: Natalya Pykhova