Creating a summer mood is easy! With the help of an original and unusual decor: wave-like stripes from a soft grid of various watercolor and pastel shades with a “foamy” volume adorned the bottom of a pencil skirt.

In this master class, we will show another of the unusual ways of performing volumetric decor.

Such decor can be of large or insignificant volume, one-color or multi-color, it can be made of completely different materials.
Blooming garden: do-it-yourself fantasy volumetric decor
You will need:

- a soft grid of one or several colors (calculations of the flow rate of the grid are presented in Step 7);
- a piece of unnecessary fabric, for example, calico (later it can be used for other purposes), you can also use a cutting mat;
- tailor pins;
- a simple pencil or water-soluble marker for fabric;
- ruler;
- scissors;
- threads in the color of the main fabric;
- a needle.
Step 1

In order to simplify the cut of decor elements, we mark the calico: vertical lines at a width of 4 cm from each other. In this case, the finished decor elements will be 2 cm wide.
Step 2

Apply a section of a soft mesh folded 4 times onto the resulting template.
I folded 2 layers of mesh along so that the fold is located on one of the longitudinal sides. So all the decor elements will have a fold from one of the short sides.
Fix the mesh to the template with tailor pins.
Step 3

Cut the grid into strips 4 cm wide, focusing on the translucent lines of the template.
Step 4

Using tailor's pins, chop 4 layers of each of the received decor elements together.
Step 5


Lay a line in the middle of each strip.
For reference, you can apply temporary marking with a pencil on the needle plate - 2 cm on both sides of the needle.
At the beginning and at the end of the stitching, sew.

One of the short sides of the part with a fold.
Step 6

Fold each part in half along the laid line.
Iron the part by bending.

When ironing, it is possible to slightly pull off long sections of parts, then when stitched they will create a wave effect.

Thus, prepare the details of all the selected decor colors.
All details can be of the same length, then the outline of the decor will be even, or may be different.
The strips of each color vary in length from 22 cm to 30 cm.
DIY removable mesh skirt
Step 7. Mesh Flow Calculations
The width of the front and rear panels of the skirt to be decorated is 90 cm. The decor elements will be aligned at a distance of 0.5 cm.
90 / 0.5 = 180 parts.
In total, 180 pieces of decor need to be prepared.
We have 5 colors, so it is necessary to carve 36 details of each color.
Details of each color differ in length:
- gray-blue - 30 cm;
- gray - 28 cm;
- blue - 26 cm;
- turquoise - 24 cm;
- sand - 22 cm.
With a grid width of 150 cm and a cut in two layers, it turns out that 18 strips will fit in one grid width (150 cm / 2 addition / 4 cm = 18.75 cm). And each of the strips will be folded twice, i.e., we need 4 lengths of strips of each color:
- gray-blue - 30 cm * 4 lengths = 120 cm;
- gray - 28 cm * 4 length = 112 cm;
- blue - 26 cm * 4 length = 104 cm;
- turquoise - 24 cm * 4 length = 96 cm;
- sand - 22 cm * 4 length = 88 cm.
It is better to take a grid with a small margin.

If you want to achieve soft color transitions in the finished decor, you can "mix colors" - when preparing the decor elements, lay a grid of two colors, then the details will turn out two-color.
Step 8


Prepare the product for setting the decor.
I decorate a pencil skirt, so I first sewed the side seams and processed the allowances. I will process the back seam after the decor is done.
It is also necessary to prepare the bottom of the product. I will turn it up twice and go up manually. Now it is necessary to iron and notice the cut to a width of ~ 1.5 cm, as well as mark the fold line using notched stitches, chalk or a water-soluble marker - we will focus on this line when setting up the decor.
Step 9

On the panels of the skirt we apply several marking lines, which we will also be guided by.
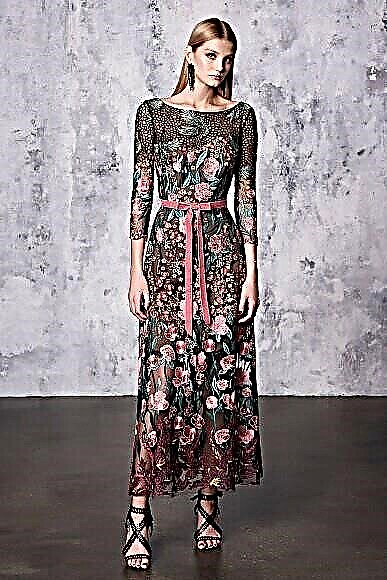
Feather and feathers: do-it-yourself fashionable clothing decor
Step 10. Decor

Focusing on the marked bottom line and vertical chalk lines, we sew the first strip on the panel of the skirt, laying the line exactly along the previously laid together stitching line.


Stitch the next decor element on the panel at a distance of 0.5-0.7 cm from the stitching line of the first element.

Thus, build up all the elements of the decor.

If you decide to make decor elements of different colors or different lengths, you need to decide in advance in what order you will configure them. You can define a clear order that will be repeated. I decided to adjust the details in a chaotic manner, but I tried to keep the rhythm so that the long parts were located at approximately the same distance from each other.

The distance between the stitched elements is 0.5-0.7 cm. When tuning, it is convenient to navigate to the width of the foot.

Below, all the decor elements are on the same line.
Step 11

After all the decor elements are sewn, it is necessary to bend the bottom of the skirt along the notched line and hem the allowance with hidden stitches.

The decor is ready!
To perform such a decor, you can choose not only a grid, but also, for example, chiffon (in this case, strips should be cut along the oblique), then the decor will turn out even more delicate and watercolor, but less voluminous.
And if you use cotton fabric (stripes also cut along the oblique), then you can get an image in the style of boho.

You can decorate in this way the bottom of skirts or dresses, pockets, sleeves or shelves of jackets and bomber jackets.
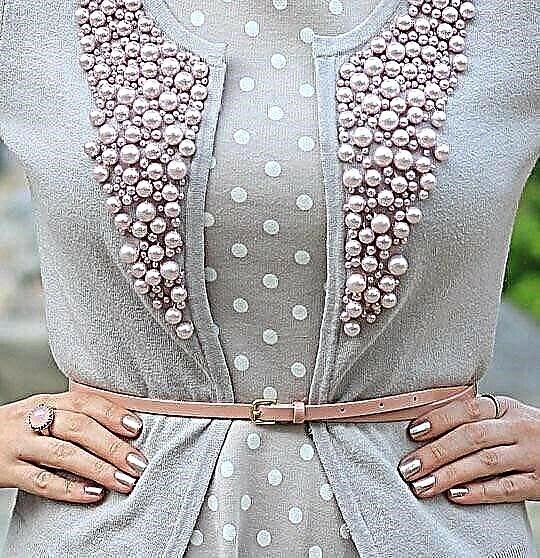
Stylish solution: decorate clothes with beads
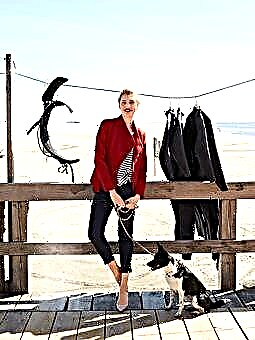
Fringed braid: do-it-yourself Chanel decor
The author of the master class and photo: Daria Tabatchikova

By education, Daria is a PR specialist and economist, but several years ago she devoted herself entirely to her favorite business - sewing.
She learned to sew from magazines, books and using the Internet, there are also sewing courses in the arsenal, but Daria refers herself to self-taught. She loves to study specialized sewing literature from different years and countries, and then put her knowledge into practice.
At the end of 2017, Daria became the winner of the festive contest from BurdaStyle.ru.
She leads her Instagram page and VKontakte group.
Material prepared by Julia Dekanova